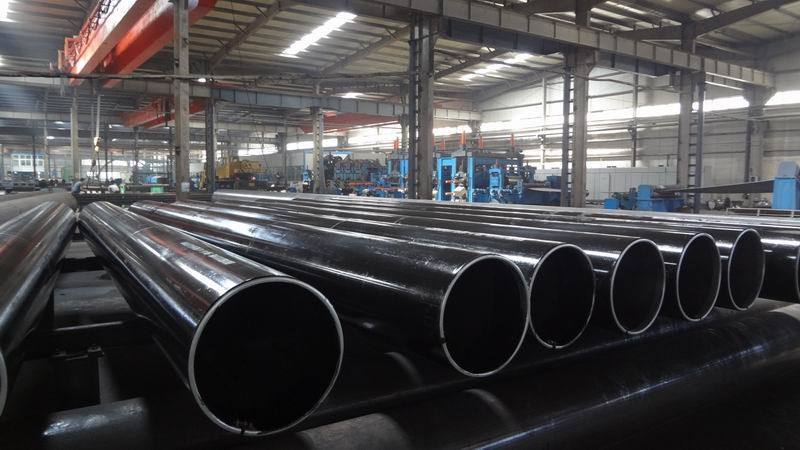
The quality inspection process of ERW steel pipe includes on-line nondestructive testing, metallographic examination, flattening and flaring failure test and hydraulic test. Evaluation process:
1, online nondestructive testing
The detection arm of the testing station rotates and is placed in the longitudinal welded pipe production line. Observe the position of the weld through a camera. The position of the probe is adjusted by using the lever to make the weld overlap with the laser and save the parameters. Input the coil number through DATASERVR and DACQ computer. The waveform of the detection interface was observed. When the waveform exceeds the alarm line, the thickness measurement information is compared to determine whether it is a defective or interfered wave signal, and inspect the pipeline to see if the waveform exceeds the alarm line. If the alarm line exceeds the alarm line, the alarm will be issued. Close and adjust the welding parameters in time.
2. metallographic examination
(1) metallographic structure of the weld. Usually, after the heat treatment of the weld, it is used to determine whether the rough structure of the heat affected zone is completely eliminated, whether it is basically the same as the base material and whether it is included in the weld fusion line. Usually, there are no inclusions, micro cracks and organized structures in the weld, indicating the welding mesh.
(2) the flow pattern of metal. In high frequency welding, proximity effect and skin effect make the edge of the strip in molten and semi molten state. Under the pressure of the extrusion roller, the weld metal flows inward and outward, and the parent metal flow line on both sides of the weld is raised to form a clip. Angle, known as streamline angle alpha, usually determines the weld seam from 40 degrees to 70 degrees. Beyond this range, the welding parameters need to be adjusted in time.
3, destructive test
(1) flattening test. Cut about 100mm welded pipe and place it under the hydraulic press. The welding position is perpendicular to the direction of the hydraulic machine. Start the hydraulic pressure. Slowly press the weld pipe and press the diameter of 3/4 to see if the weld is cracked. If there is no crack, weld mesh; if there is a crack, adjust the welding parameters in time.
(2) the expansion test. Place approximately 100mm of the welded pipe on the conical top core, place the conical top core under the hydraulic press, start the hydraulic pressure and slow down the welded pipe. When the flaring reaches 8%, check whether the weld is cracked. If there is no crack, weld mesh; if there is a crack, adjust the welding parameters in time.
4, hydraulic test
In hydraulic tests, the flange is used to seal both ends of the welded pipe behind the welded flange, then the pipe is filled with water, and the pressure is gradually applied to the relevant standard pressure. After a period of time, pipe welding is measured visually. There is no leakage at the joint. If there is no leakage, weld mesh; if leakage occurs, adjust the welding parameters in time. In the hydraulic test, there is no leakage at the weld, and the welding mesh is welded. This is also the last step of the quality inspection of the welded pipe.
